the blog
read more
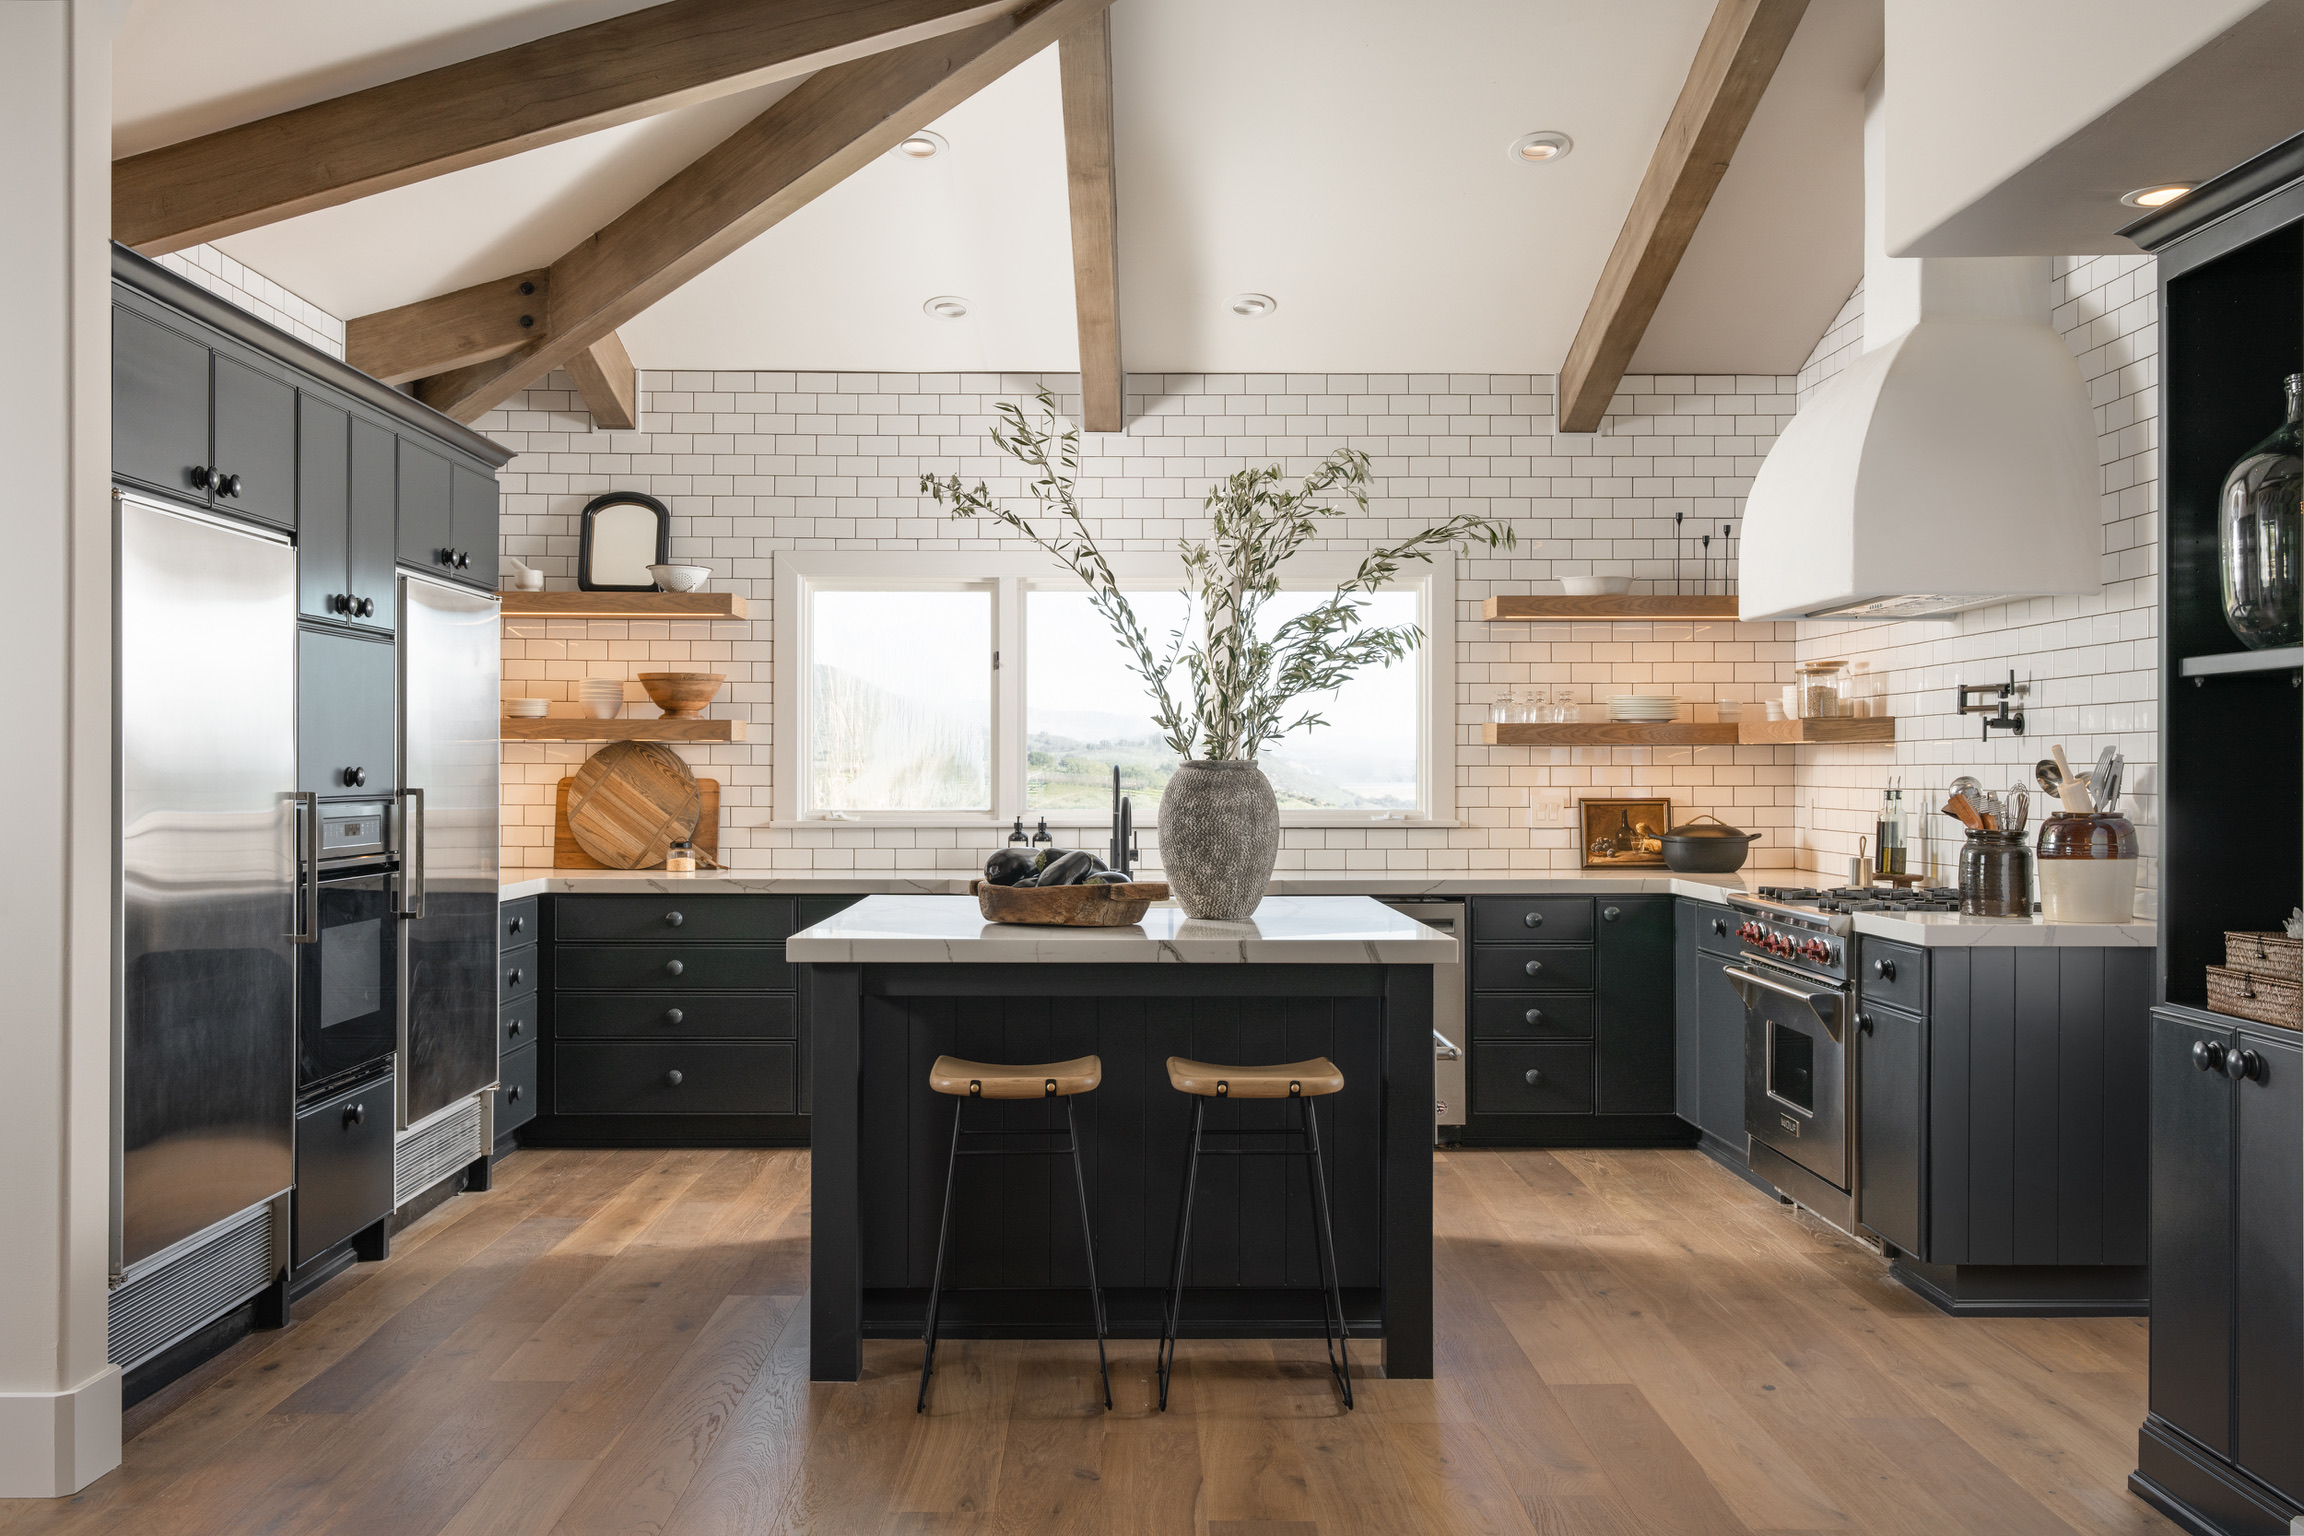
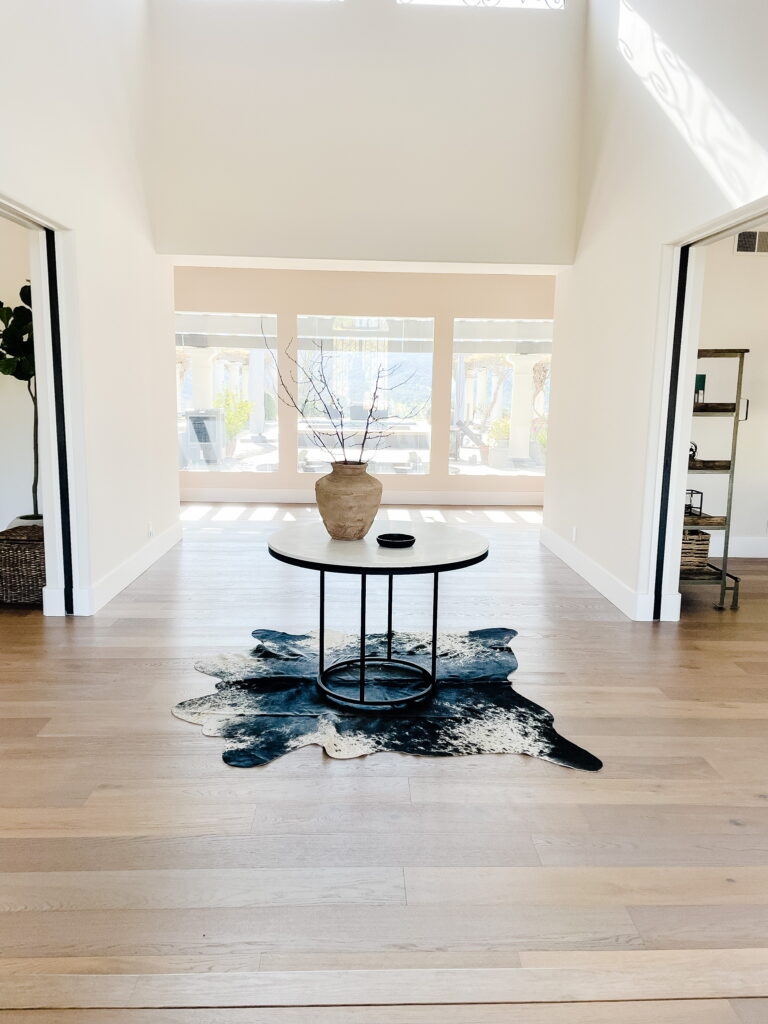
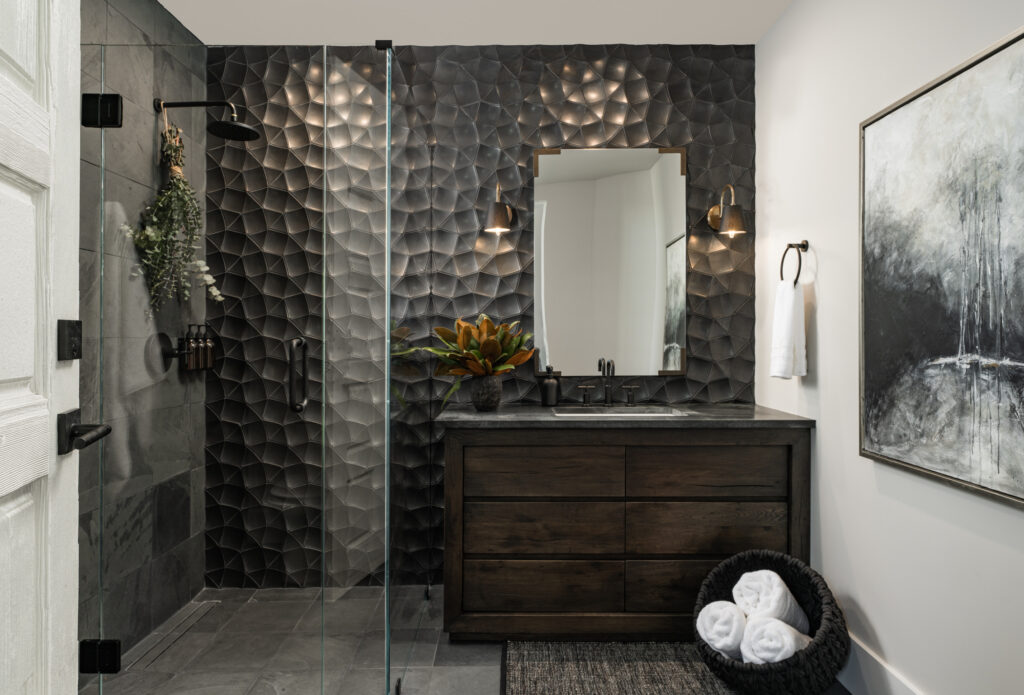
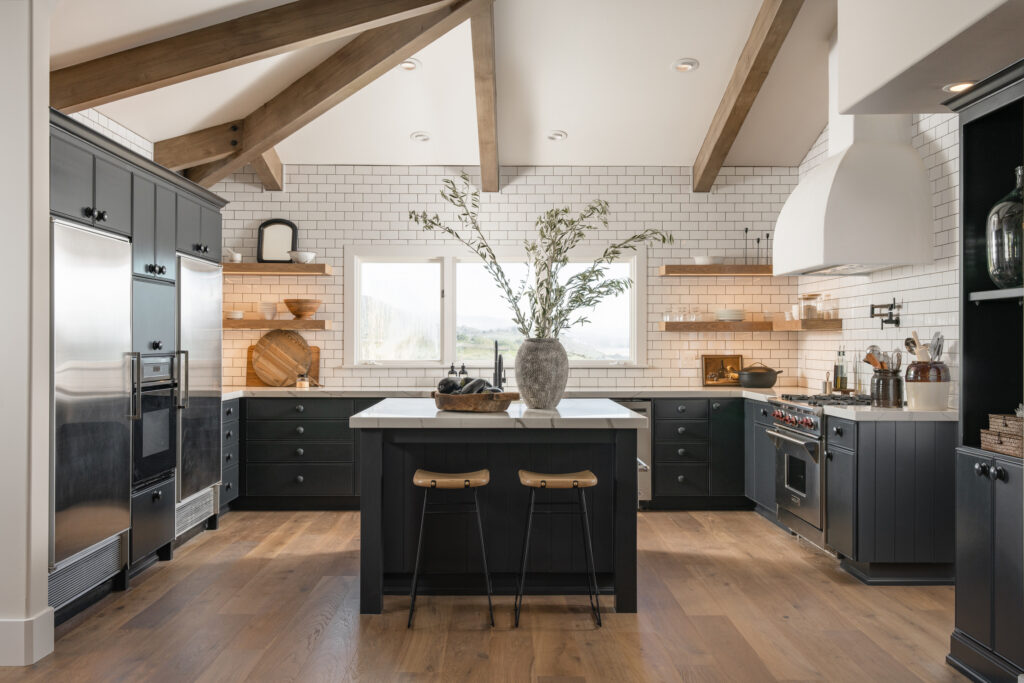
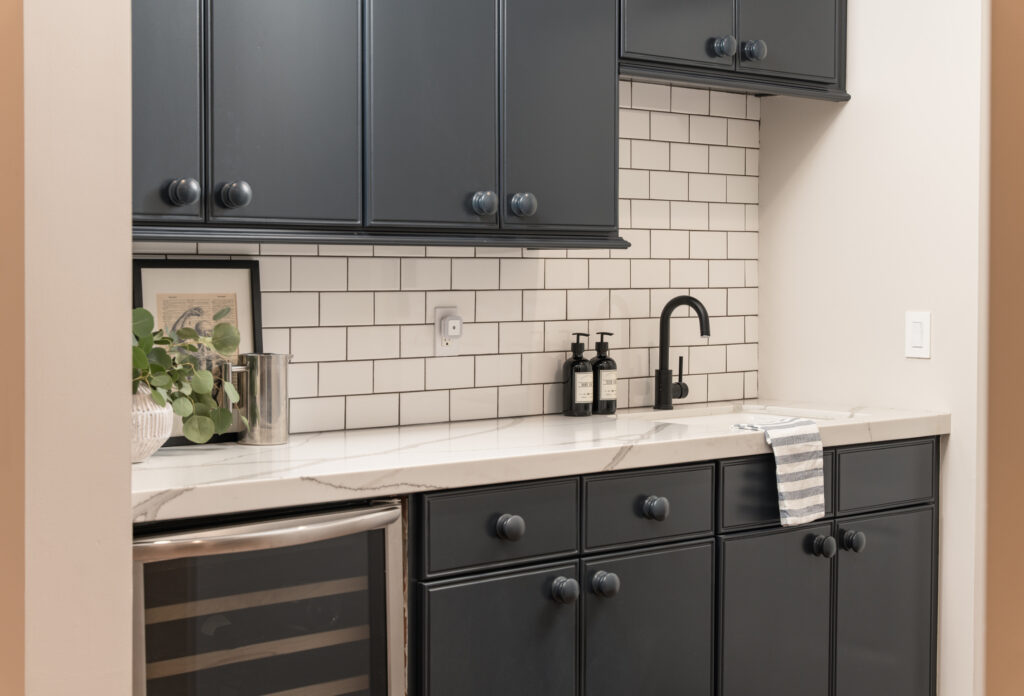
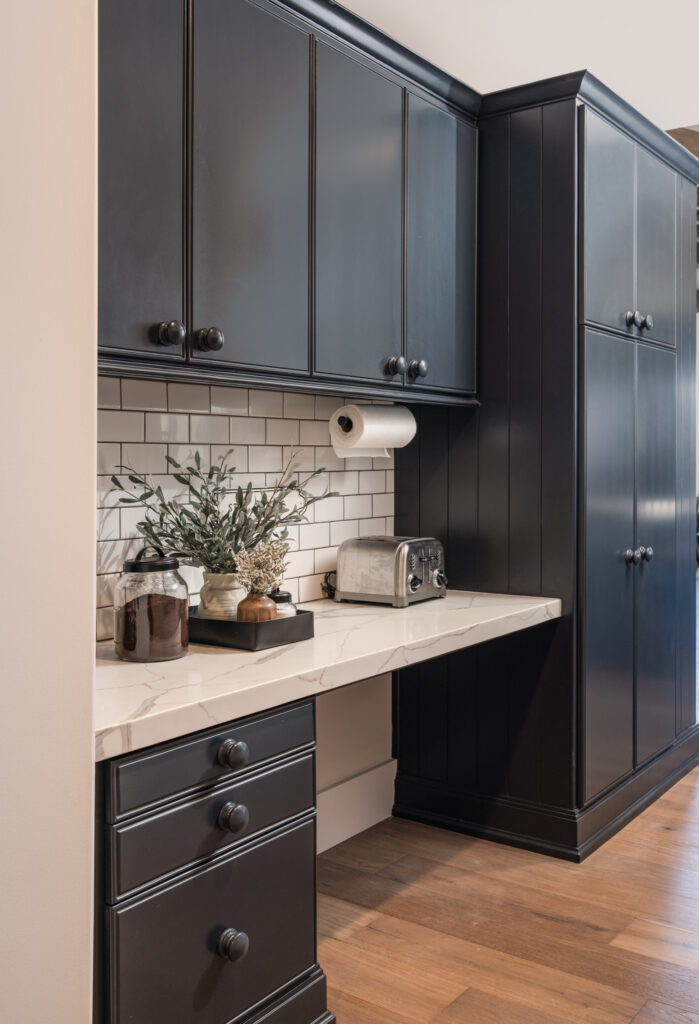
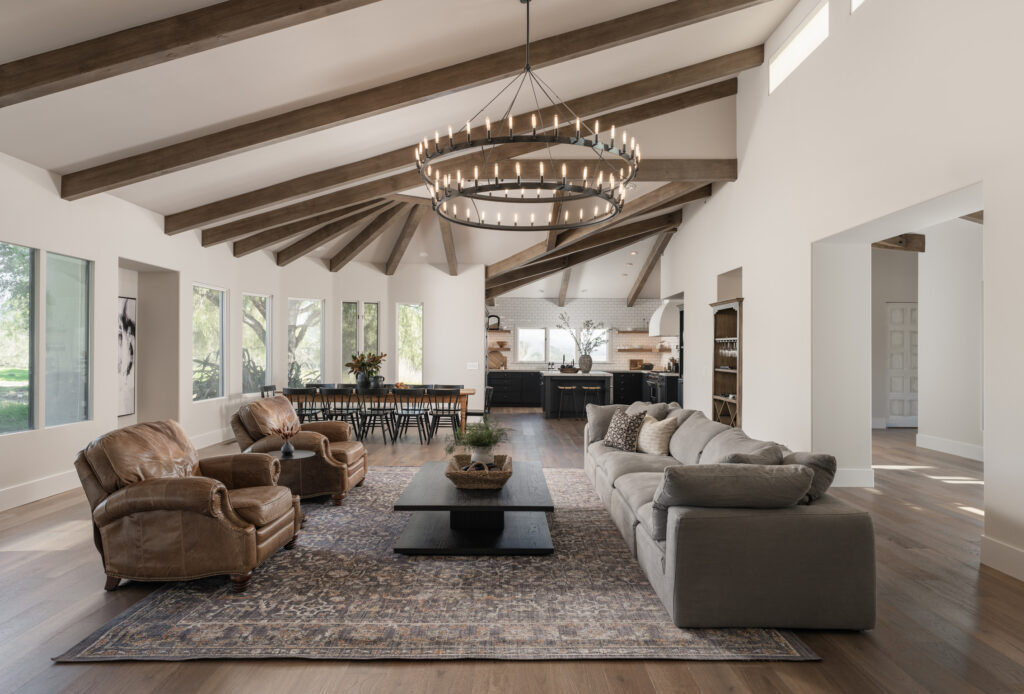
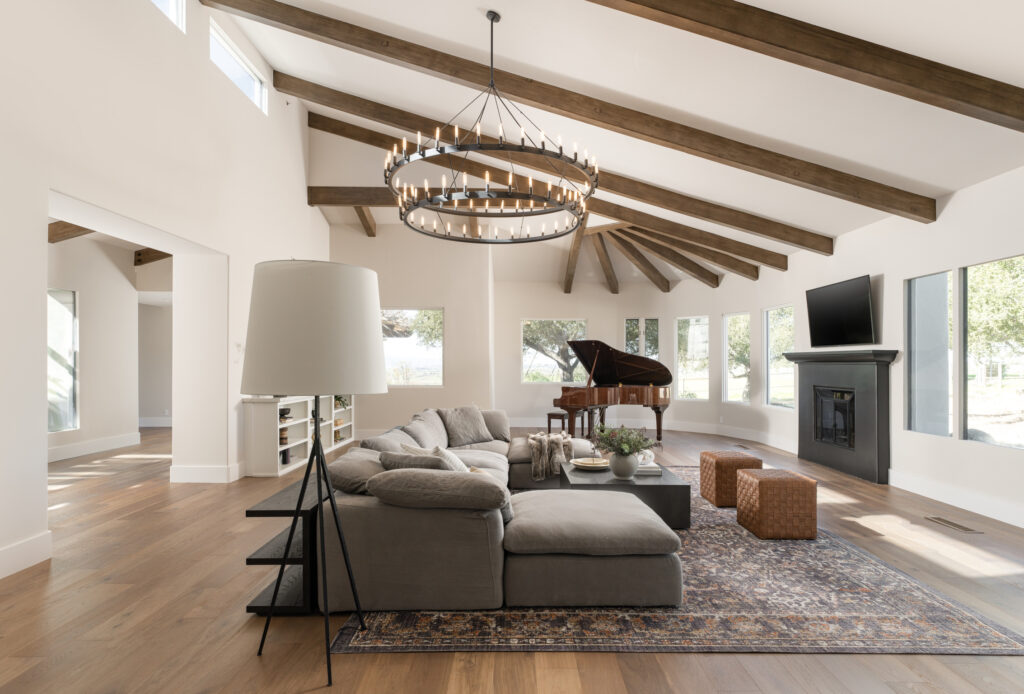
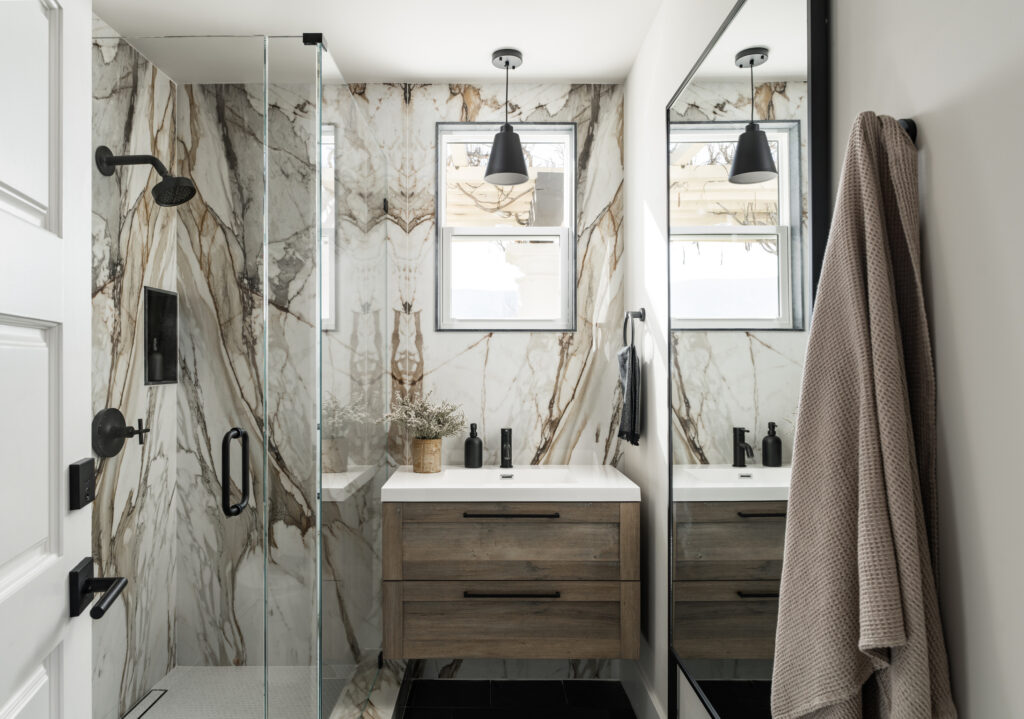
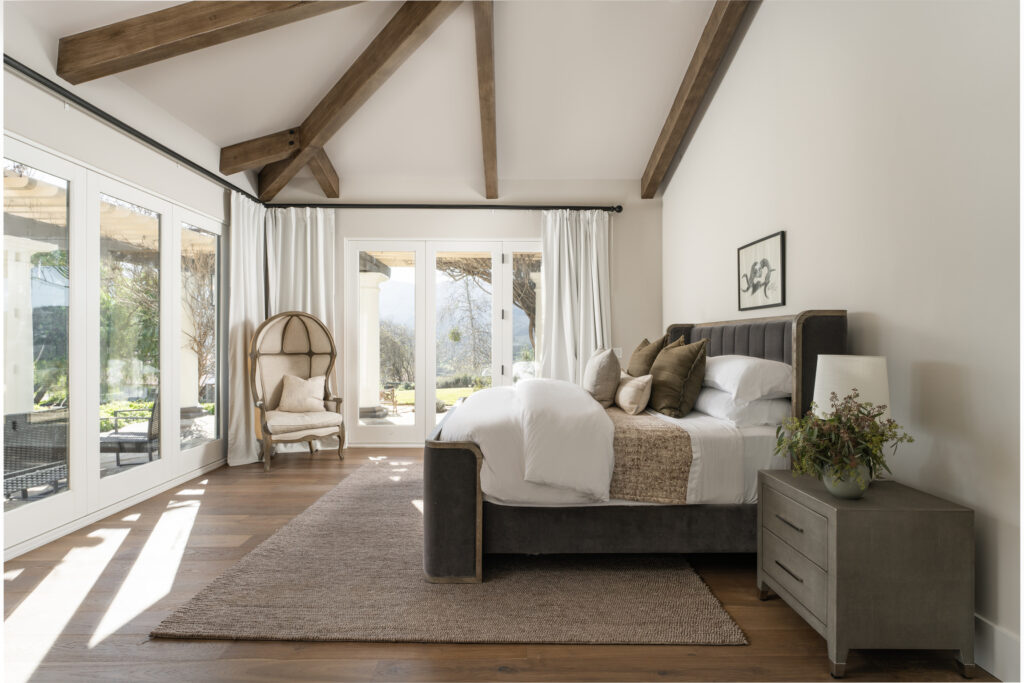
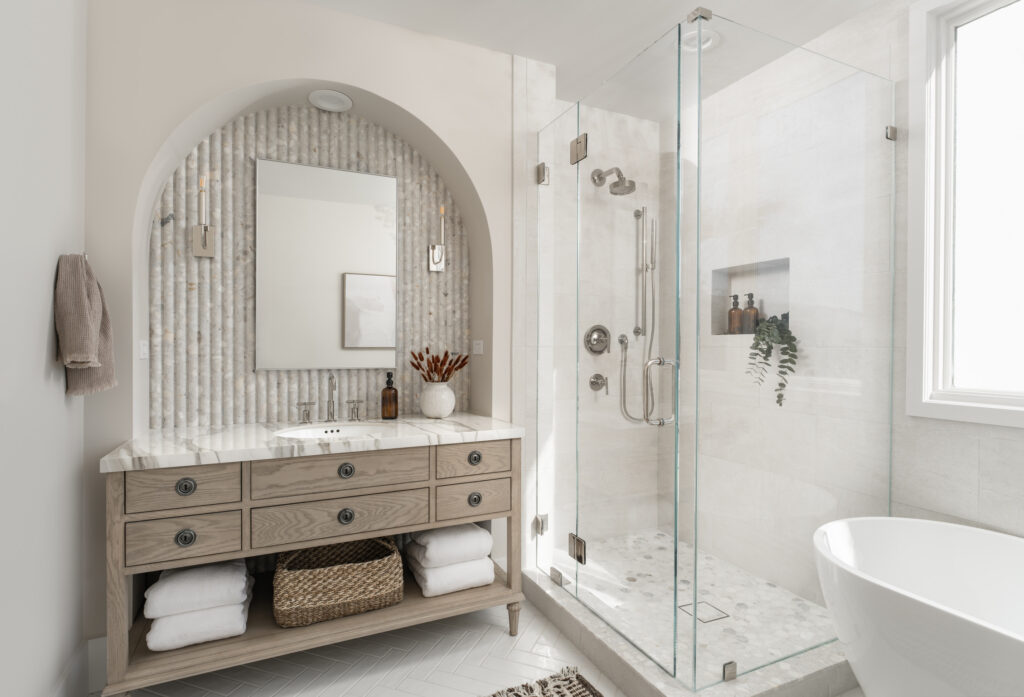
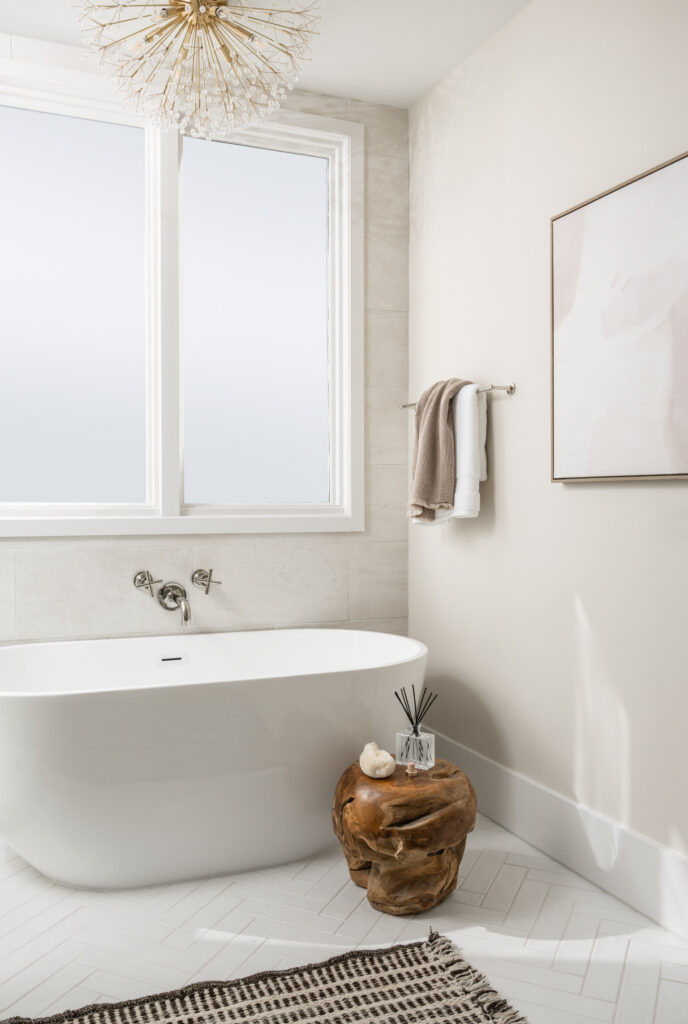
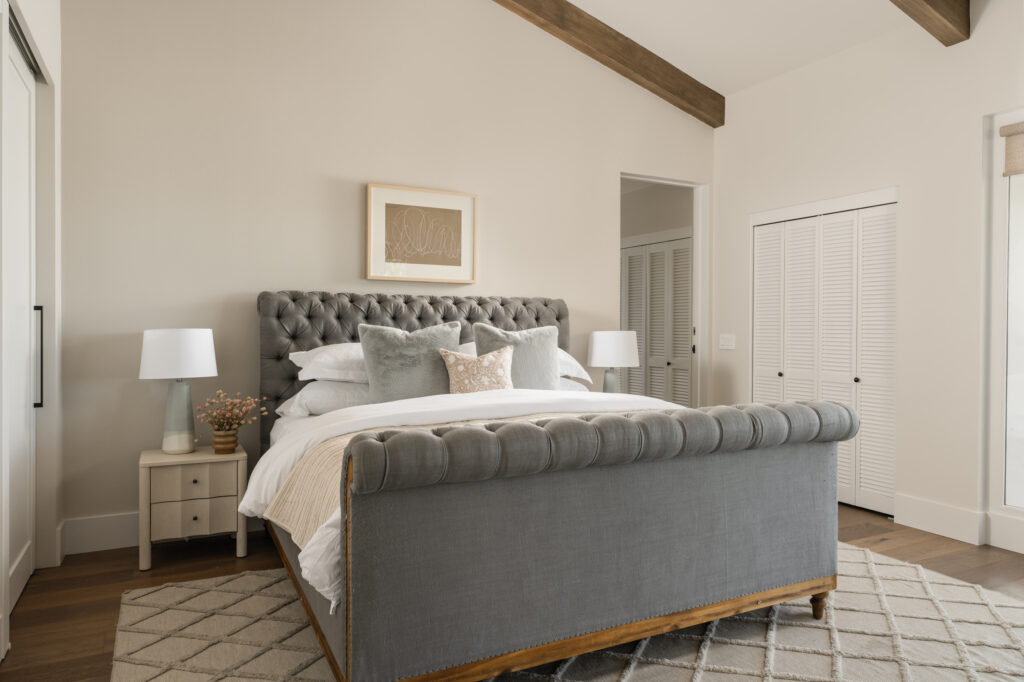
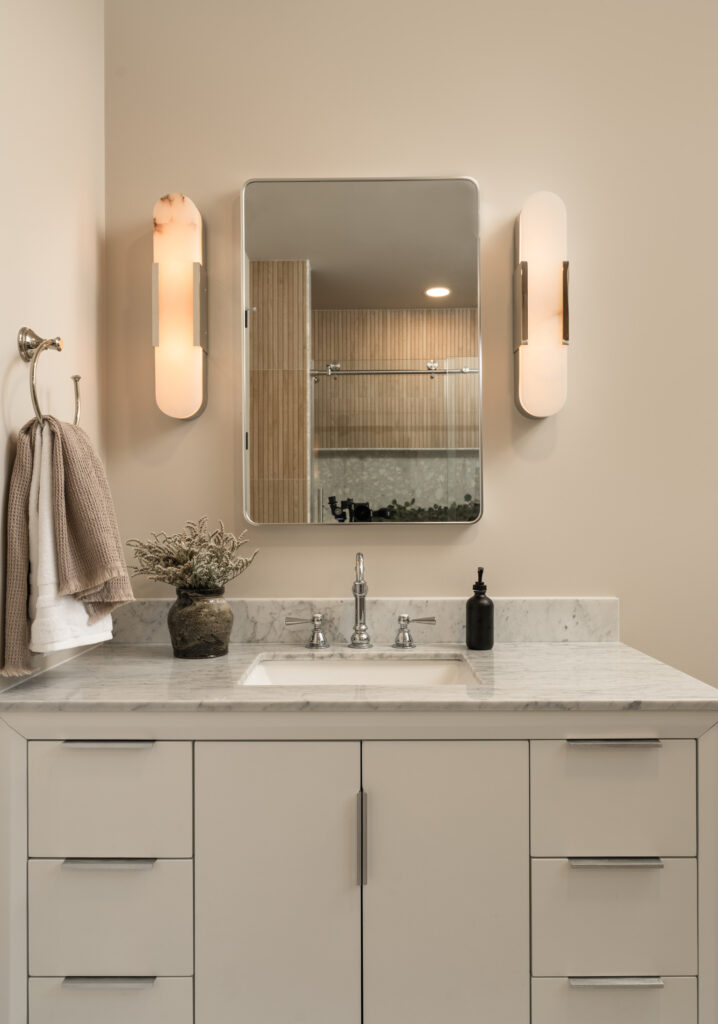
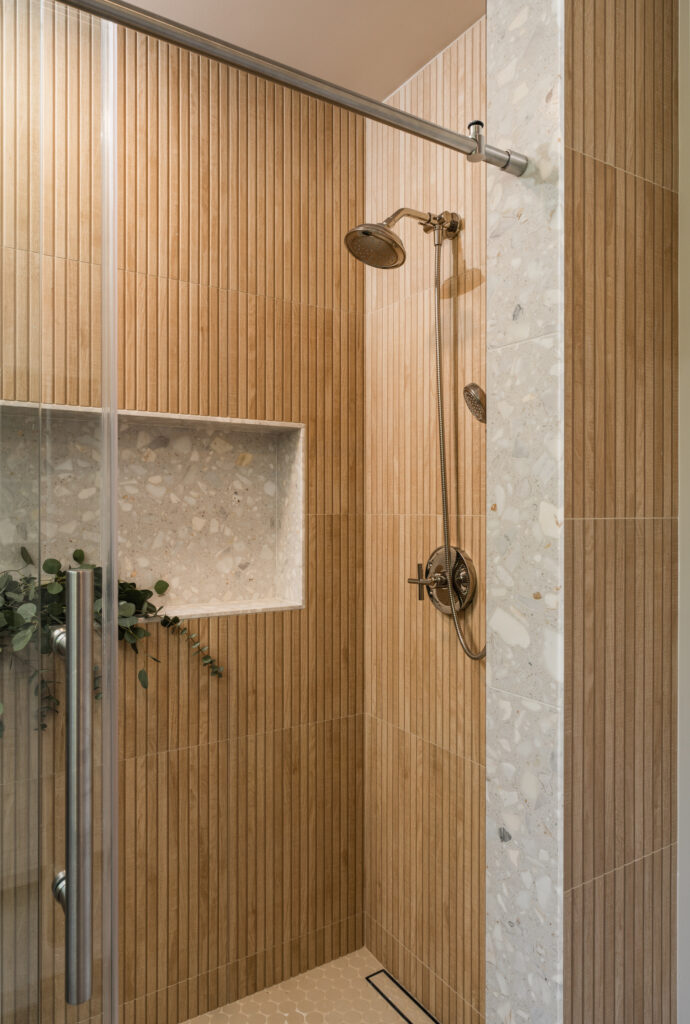
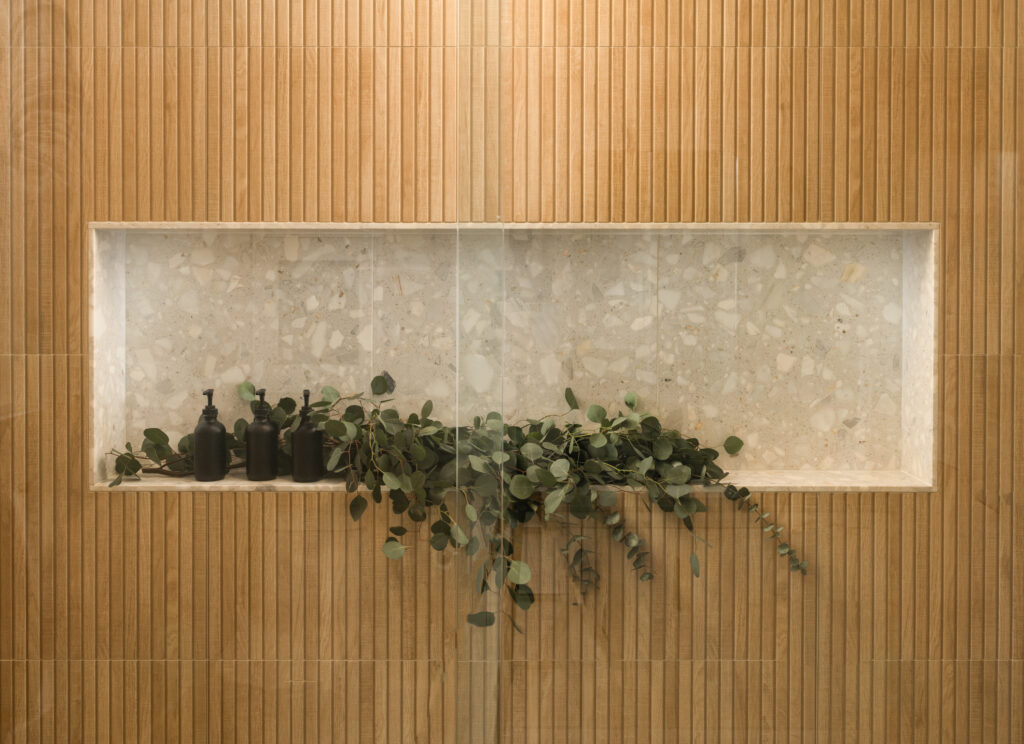
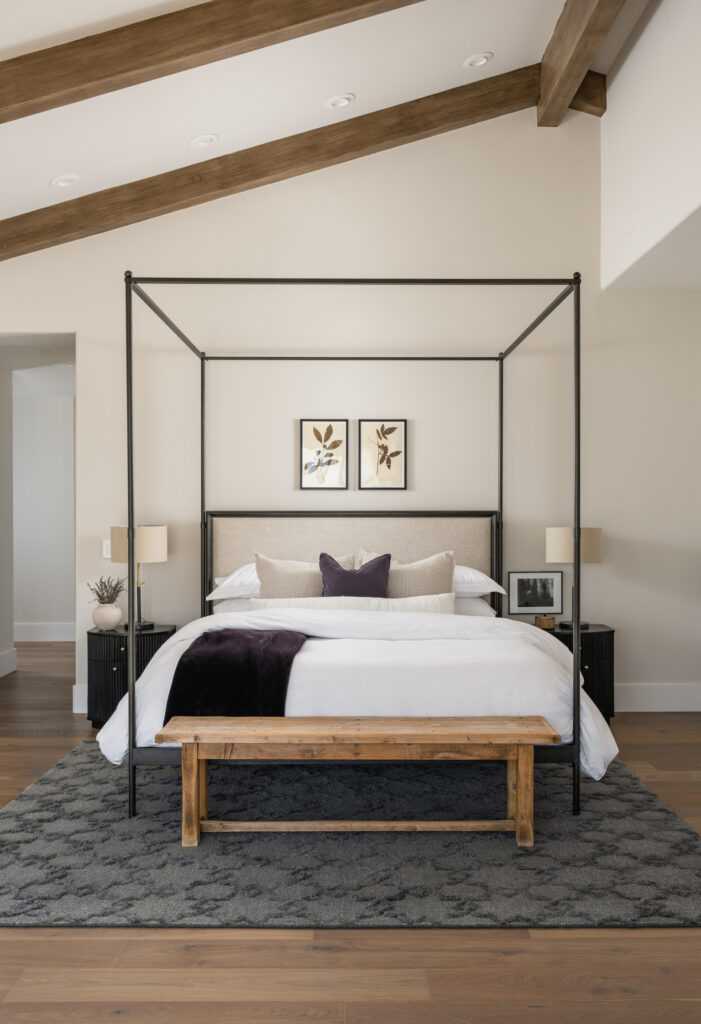
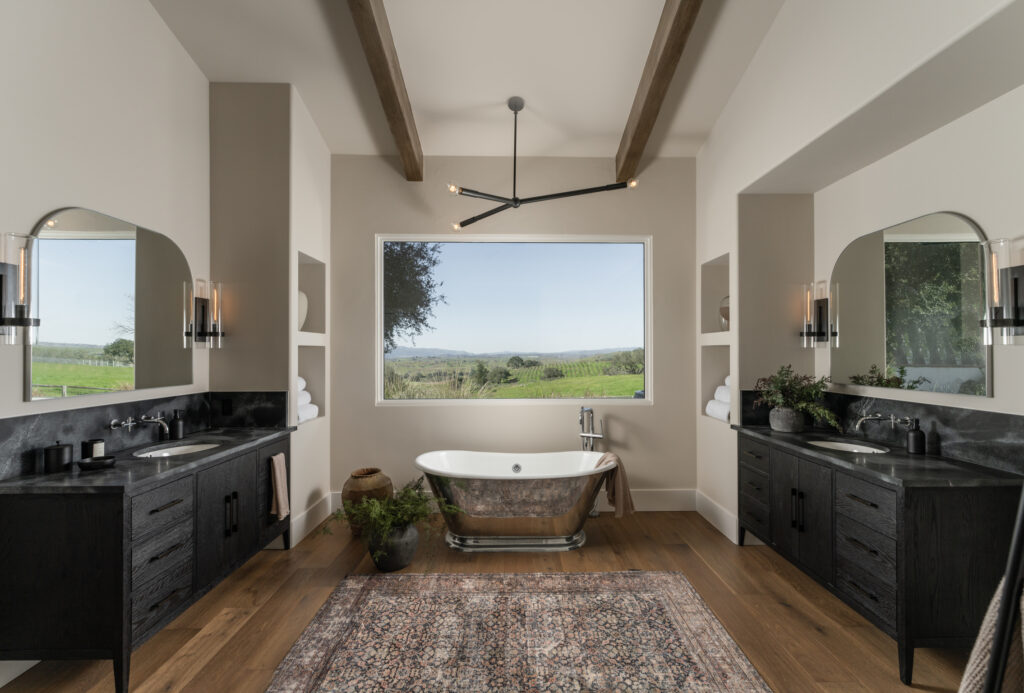
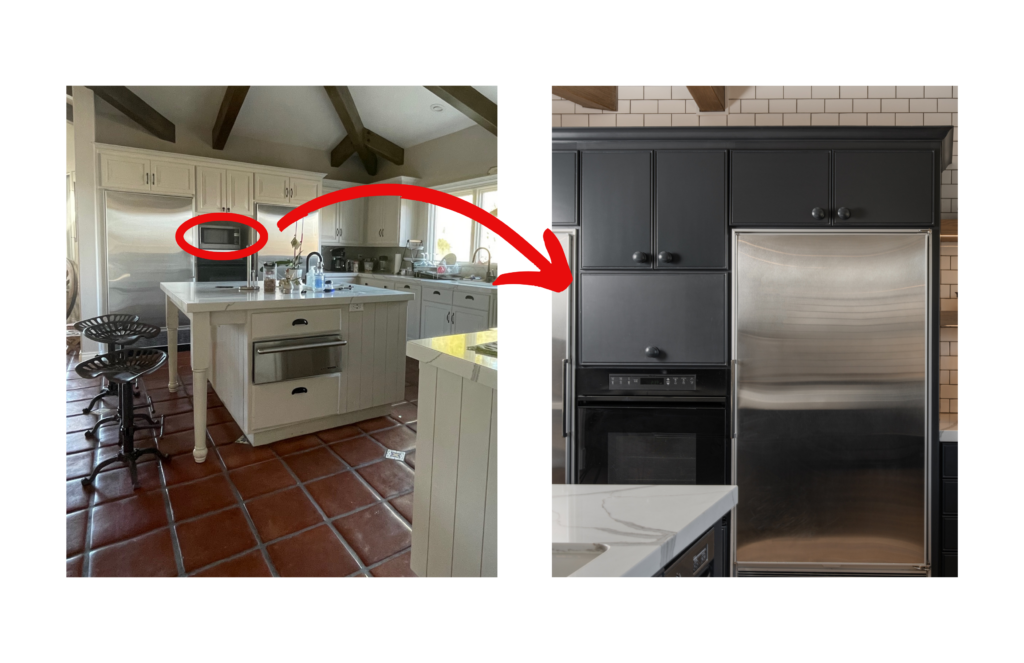
Today I’m so excited to introduce you to our Coyote Hills Project! This is a project that is special to me for so many reasons. For one, it was truly a labor of love. I have come to love these clients so much. They are incredibly kind, they exercised so much trust in me and trust in the process, which honestly isn’t easy. To top it off, they’re just really good people with great taste. As a designer, what more could I possibly ask for? Also, when this project started the request was for new floors and a refresh for the existing bathrooms. After we were deep in construction the clients decided they couldn’t stop there and the project slowly evolved into a full service remodel that included the kitchen, butler’s pantry, coffee bar, a bathroom addition, and a laundry closet addition! Construction was about 70% complete when I was asked to design the kitchen, which might sound overwhelming but I can never resist a good kitchen remodel! I got to work drawing and designing all while putting out the fires that are inevitably associated with any remodel project. It was a wild ride and 100% worth it! I think you’ll see the clients ended up with an absolute dream home.
Scroll through to see a quick photo tour that is just a glimpse of this gorgeous home. Make sure to subscribe to our email list so you don’t miss out on what’s ahead. I’m going to take you through space by space, show you all the before and afters, and share all of the design details.
Let me know what you think of Coyote Hills. If you have a design question, or just want to say “hi” leave me a message in the comments section!
read more
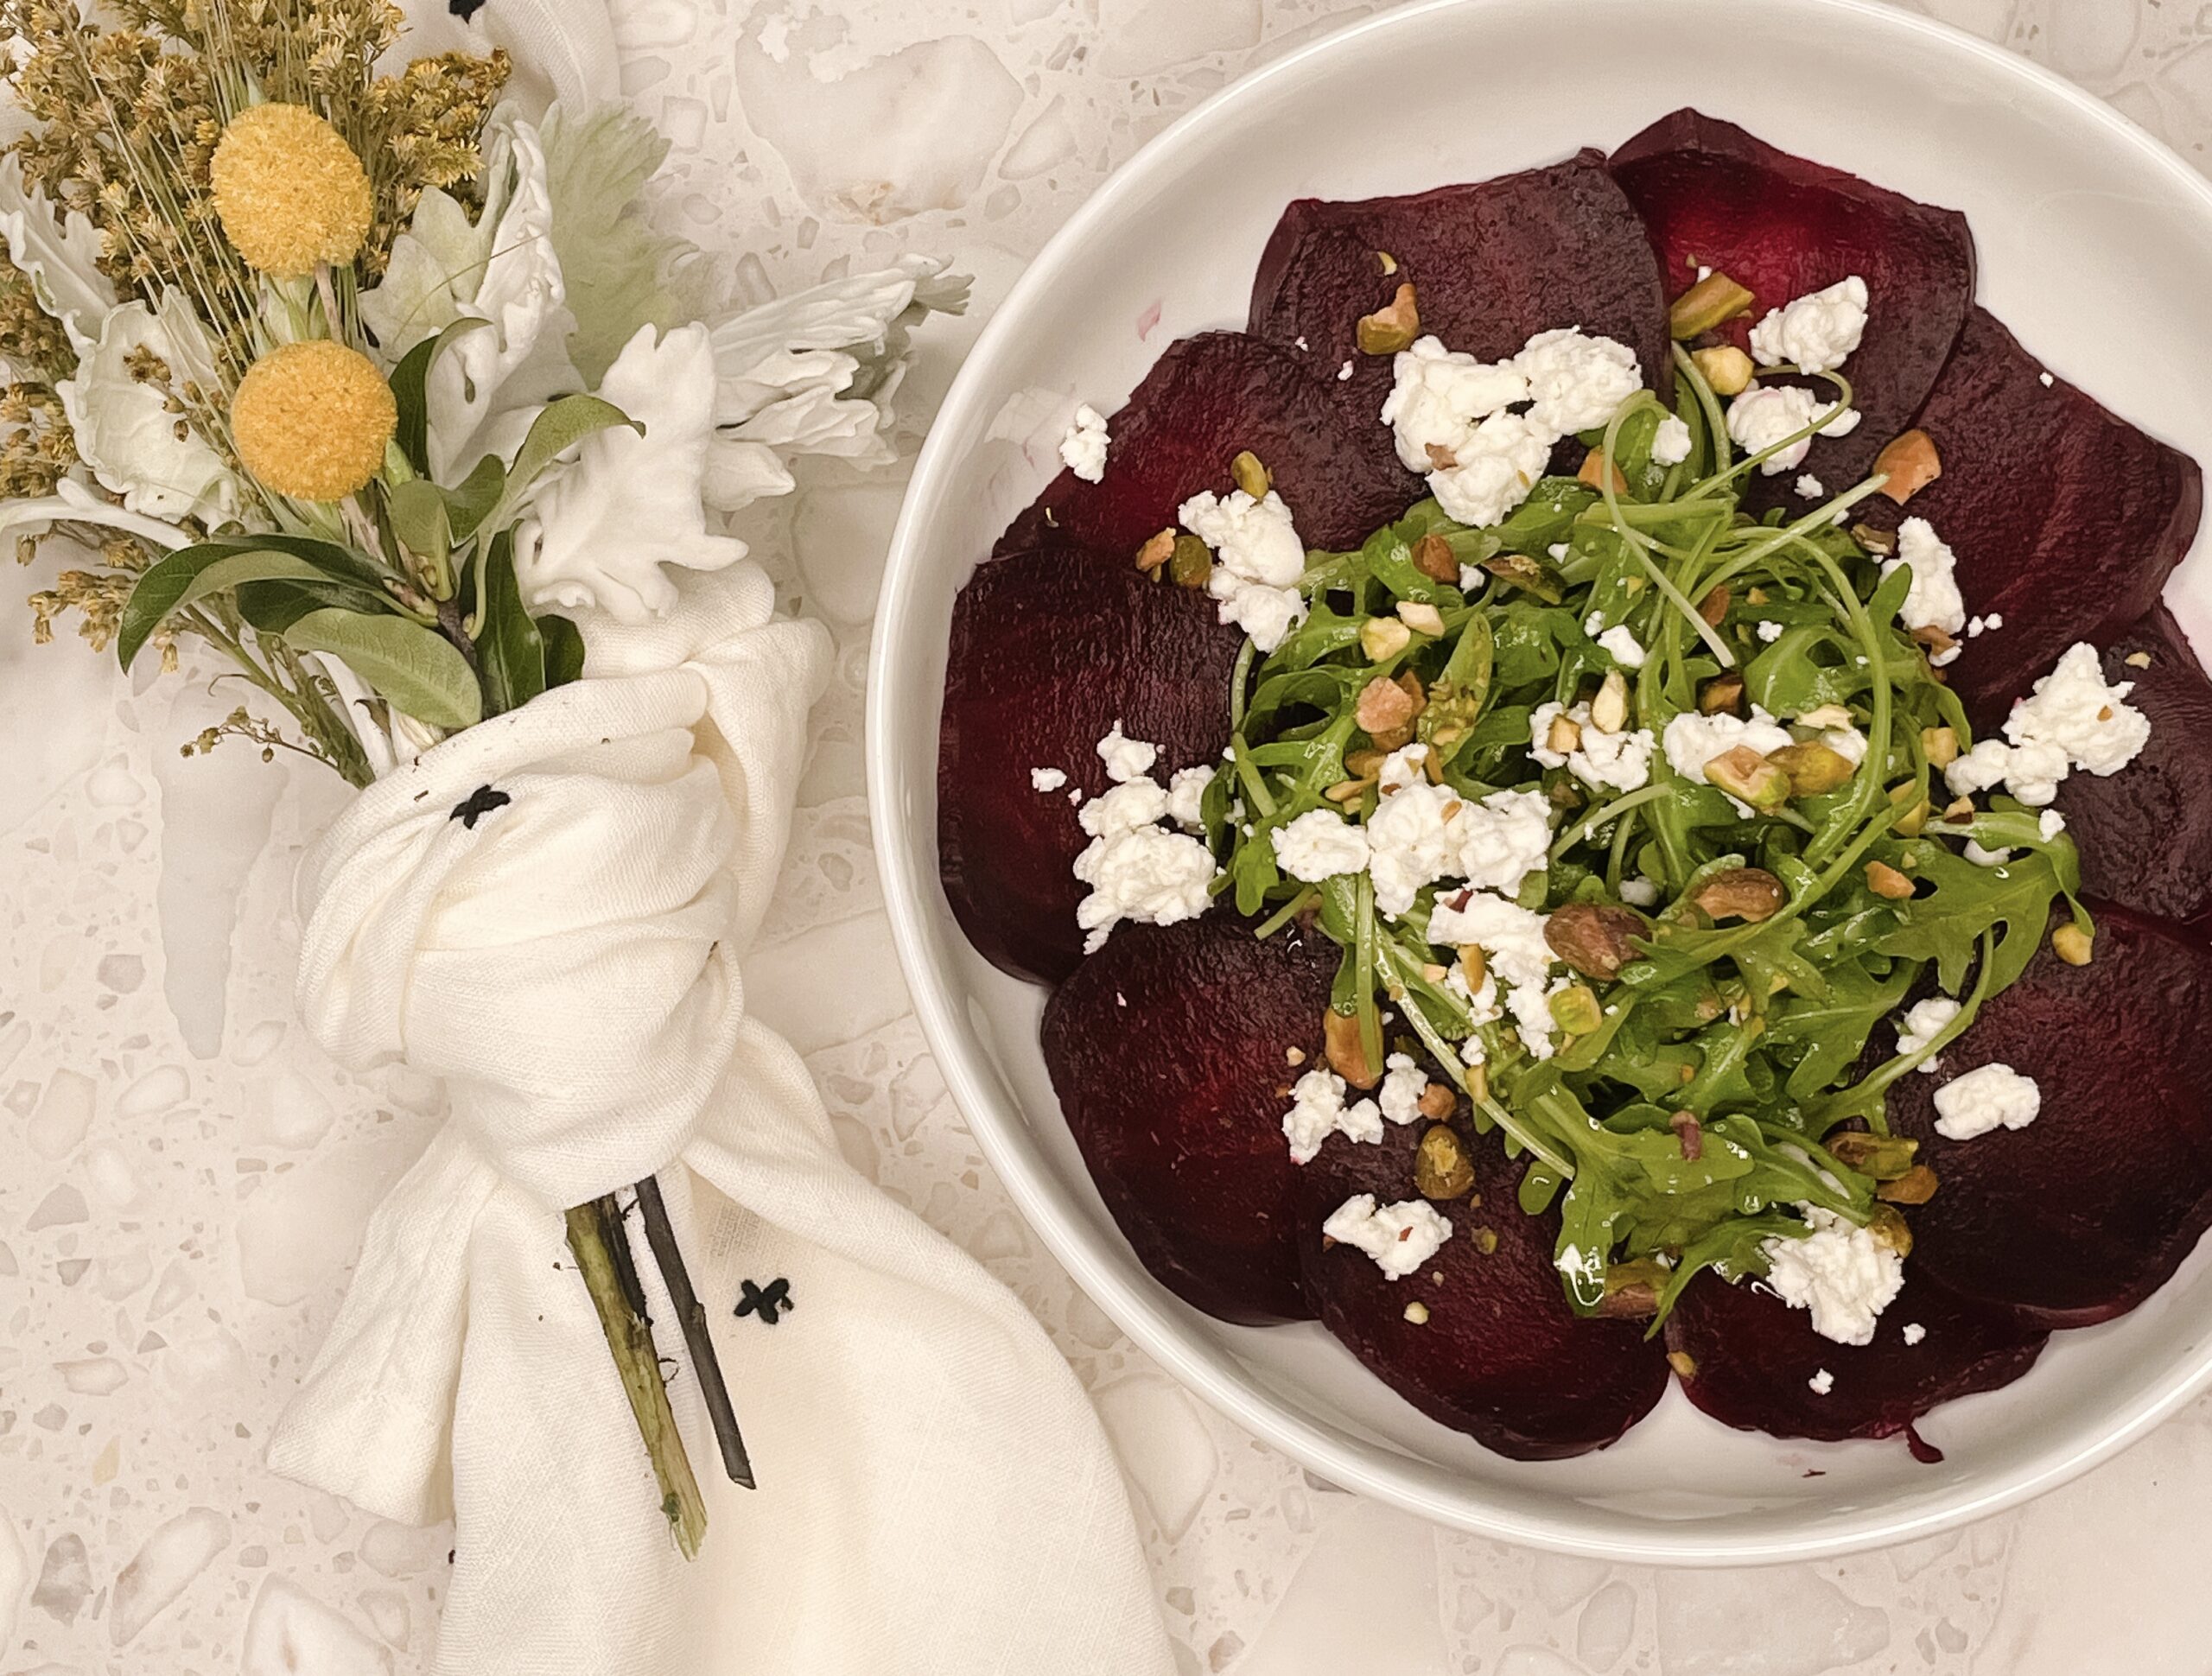
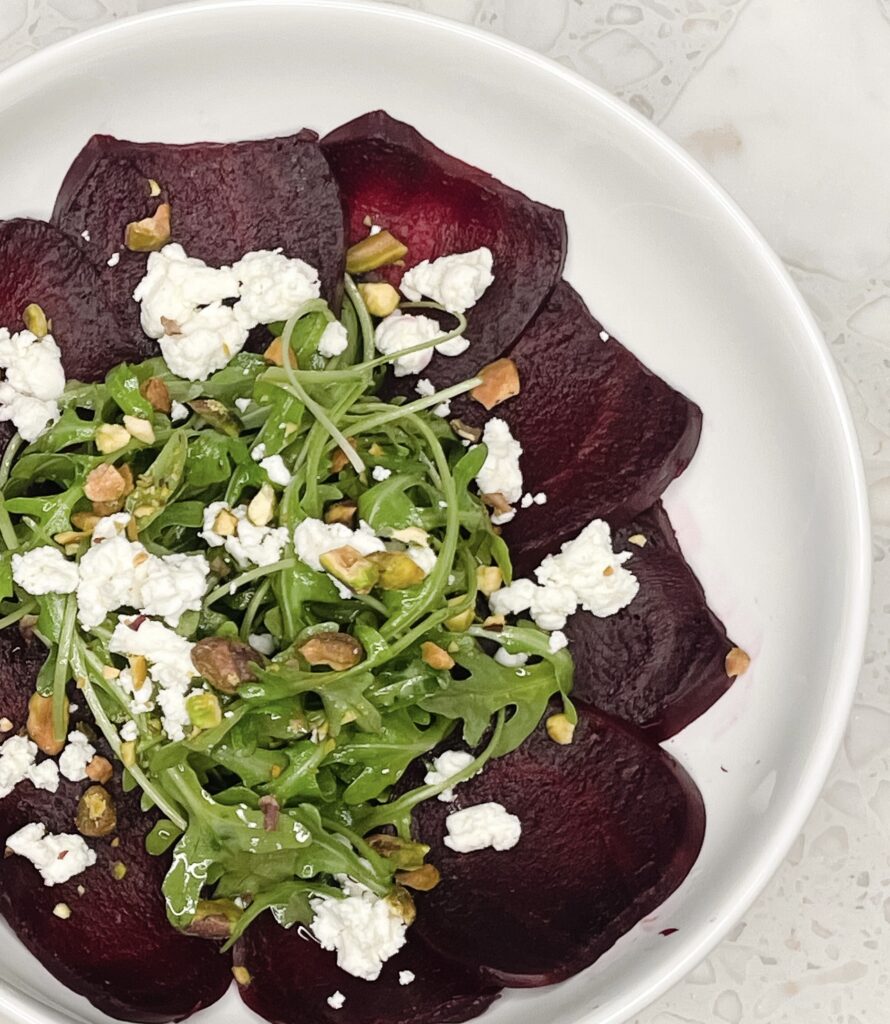
As the weather gets warmer I crave whatever food doesn’t require me turning on my oven and heating up the already warm house. My go-to is a salad most days and this one is my very favorite. Did I mention it is simple to make? If I ever see this salad on a menu, I can almost guarantee it will be part of my meal. Because I have ordered so many beet salads, each with their own unique twist, I felt I had sampled enough to try my hand at my own recipe and thus this little gem was born. I love to cook. Honestly, I like to think of my cooking style as that of an old world European grandmother cooking for her large family many generations ago somewhere in the countryside swatting away fingers that are eager for a taste with my trusty wooden spoon. That’s just my fancy way of saying I very rarely measure, even if I’m reading from a recipe 😳. I have a very deep love and appreciation for food and I like flavor to dictate my decisions so I typically cook by intuition. Admittedly, there might be an ounce of laziness sprinkled in there—but this is a safe space and we don’t judge. That being said, it felt a little selfish to keep this one to myself so I broke out the measuring spoons just for you. Now you can replicate this must-try recipe. I’ll just say “you’re welcome” in advance, because it is that good.
Ingredients:
- 3-5 Beets depending on size
- Arugula
- Goat Cheese
- Pistachios (shelled and salted)
Dressing:
- 1/4 cup Olive Oil
- 1 tbsp Apple Cider Vinegar
- 1 tbsp Honey
- 3/4 tsp Sea Salt
Instructions:
Let’s be real, sometimes we don’t like to be told what to do. If that’s your vibe today, then consider these mere culinary suggestions. 😂
Cut the greens off of the beets leaving approximately 1 to 2 inches of the stem. (The greens are a great source of nutrients and can be saved and used in another recipe as a replacement for spinach or kale.) Rinse and scrub with a vegetable brush to remove all dirt and debris. Place in a large pot and fill covering the beets fully plus an additional inch of water. Boil 20 minutes and then check the beets periodically until they are tender enough to easily puncture with a fork. The time it takes for the beets to fully cook can be anywhere between 20 to 40 minutes depending on the size so you’ll just have to keep checking.
Once the beets are fully cooked, drain into a colander and rinse with cold water. Once the beets are cool enough to handle, use a paper towel and peel the beets under running water to avoid staining. Once peeled, trim and thinly slice the beets.
Combine the olive oil, apple cider vinegar, honey and salt into a glass mason jar with lid. Shake vigorously until combined (alternatively whisk vigorously in a bowl). Pour approximately 1 tbsp over 1/2 cup arugula and toss to combine.
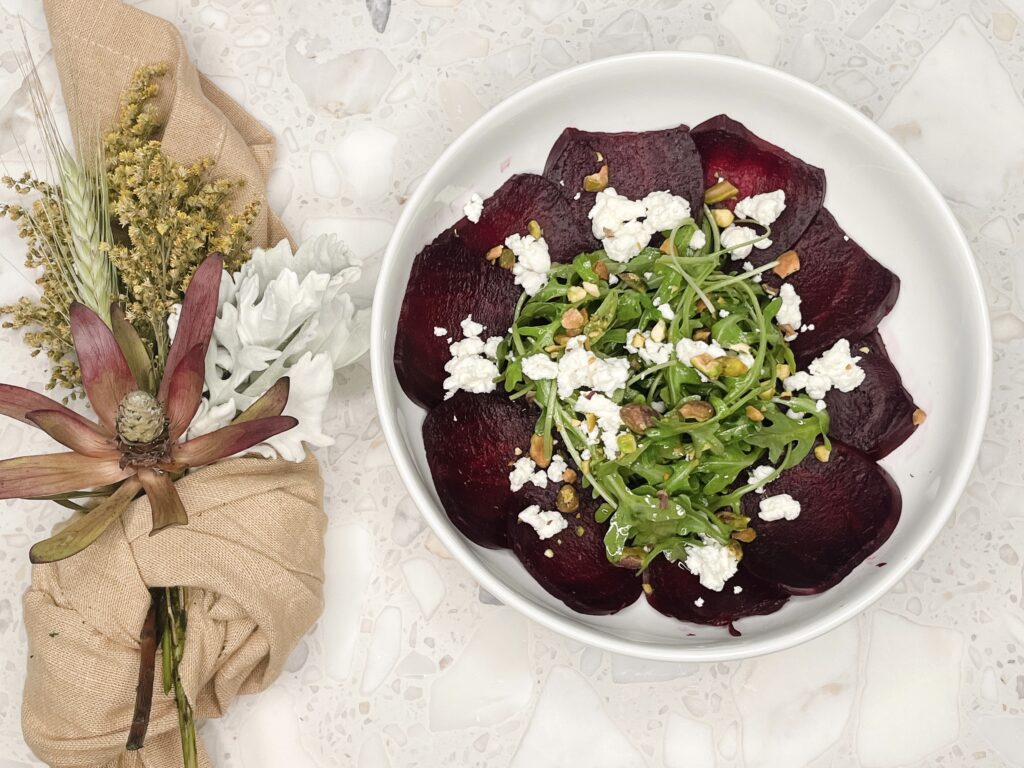
After dressing the arugula, assemble the salad to your desired aesthetic and taste. I typically line the arugula with beets that are slightly overlapping and then top with 3 tbsp of goat cheese and about 1 tbsp of chopped pistachios.
Now for the best part: Enjoy!
Tips:
I make the full batch of dressing to have on hand, but I dress and assemble each salad on demand. I’m usually only making one or two salads at a time so I simply refrigerate the separate ingredients after use. This recipe should yield 6-8 individual salads for an easy lunch throughout the week.
Being a root vegetable, beets are available all year round but are at their best June-October. I live in coastal California so they’re always around and honestly there isn’t a huge difference in the quality from season to season as we have fairly consistent weather.
Now for the irony, I prefer to cook with golden beets because it’s less mess and I don’t have to worry about red-stained hands or surfaces. In fact, I’ve been making this salad for the last two weeks with golden beets! Low and behold I need to take a picture and the golden beets have vanished so I was forced to go with red. Fear not, as long as you rinse your beets in the sink as you peel, you won’t get any staining.
read more
Welcome, my dear readers, to my latest blog post on styling an entry! As an interior designer, I’ve seen the importance of making a good first impression. The entryway is the first space your guests will see, so it’s important to make it beautiful and welcoming. Today, I’m going to share some tips on how to style your entry to create a beautiful and inviting space. Just remember that your entry sets the tone for the entire home so make sure it matches the style of the rest of your spaces.
First things first, choose a grounding piece of furniture. This can be a round table, a console or even a bench. Whichever piece you decide, it should match the overall design aesthetic of your home. For a modern home, go for a sleek and minimalistic design. One of my favorites is a vintage piece because vintage can often be utilized in almost any style of home depending on what its paired with (we LOVE vintage for its versatility). If you have a lot of space in your entryway, you can go for a larger console table, or if you have a smaller space, choose a smaller piece that won’t overpower the area. Here we are going to look at my entry and take a deep dive into each design decision.
In my entry I utilized a furniture piece that I have had for years. It offers ample storage and can be used in several different ways. When buying a large piece of furniture it’s always a bit of an investment simply because of its scale. I make sure I can think of at least 3 different ways it can be utilized to ensure its longevity through versatility. For this console, it could work as an entry console as it is here, a media console, or a buffet in a formal dining area. This gives me confidence that I can still use it as I change the spaces throughout my home or even move from house to house. When spending money on your home it’s important to do it wisely and this rule of 3 is a great way to think through your decisions.
After you have chosen your grounding piece, in this case a large console, create a focal point by adding some art or a mirror above. A beautiful piece of artwork can introduce your color palette and establish personality to your entryway, while a mirror can make the space feel larger and brighter. A mirror also has the added benefit of providing a spot for your guests to check their appearance before they leave your home. Whatever you choose, make sure it’s the right size for the console and the space above it. As a designer I use a variety of tools to ensure all pieces are of the proper scale. Honestly, some of it is experience and my “guess” is typically pretty spot on, but I will also draw things out in CAD or use painters tape and cardboard to physically stand in the space and get a feel for scale and pathways for furniture (I often do both). I ordered this particular art piece custom from Heirloom Printshop on Etsy. Because it is a custom size it is non-returnable so to ensure accuracy I cut cardboard to size and hung it in place of the artwork to make certain it was scaled properly before I placed my order. Design is not cheap so ALWAYS double check every detail—even the smallest. This vintage painting depicts a moody beach scene and fits the color palette of the rest of the space.
- When styling a round table in an open entry, my focal piece is typically a large vase with tall greens. This creates a lot of presence and draws the eye. Once you have your vase selected it’s just a matter of finding supporting pieces of various sizes, heights and textures.
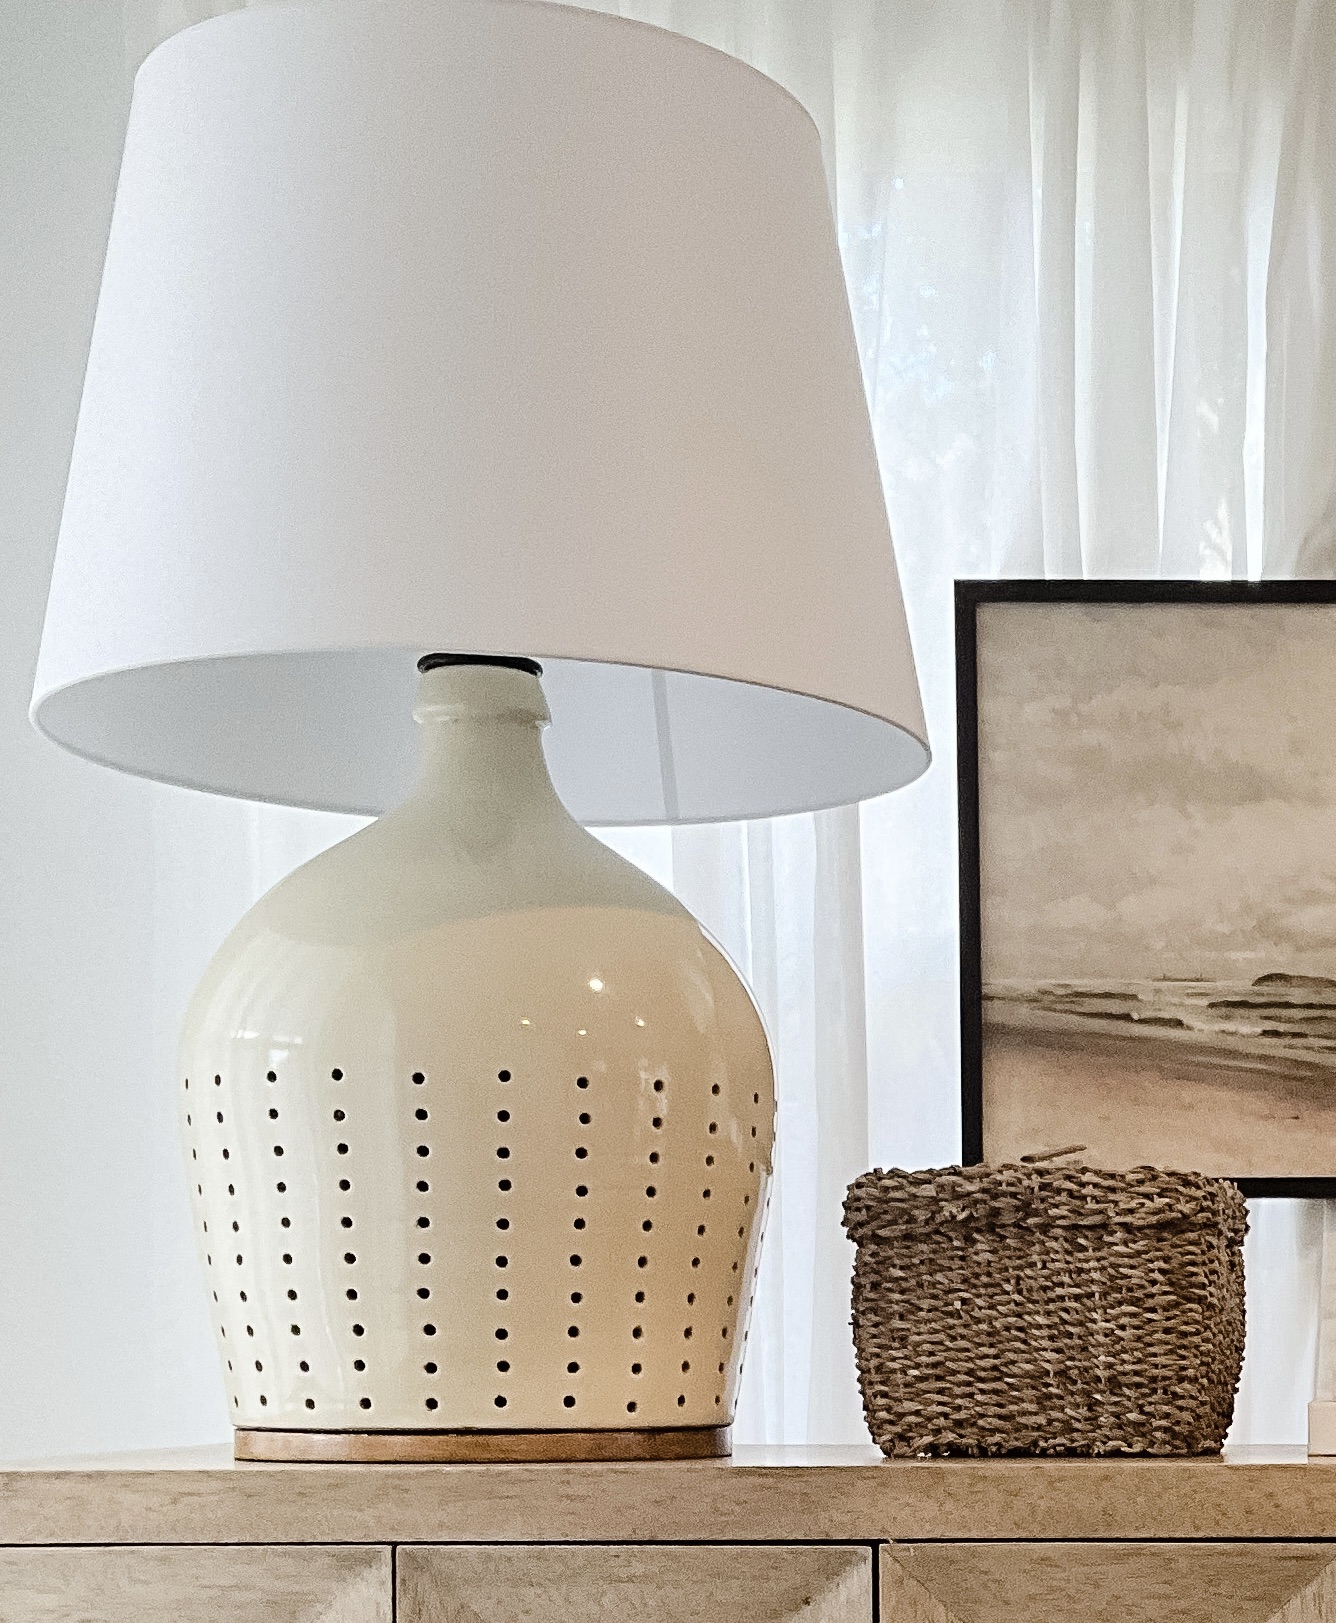
Now that we have our focal point, it’s time to add some practical items to the console. The key is to strike a balance between function and aesthetics. Start with your large, foundational pieces. In a traditional setting it’s common to place a pair of matching lamps. Lamps are great because they offer an easily accessible way to get light while walking in the door. Our eyes crave symmetry and utilizing matching lamps is never a bad idea. For me, I sometimes like a little bit of asymmetry. The key to using asymmetry is to pay careful attention to balance. I have been in love with the lamp I used here for years and I’m pretty sure my husband hates it, but I don’t care.
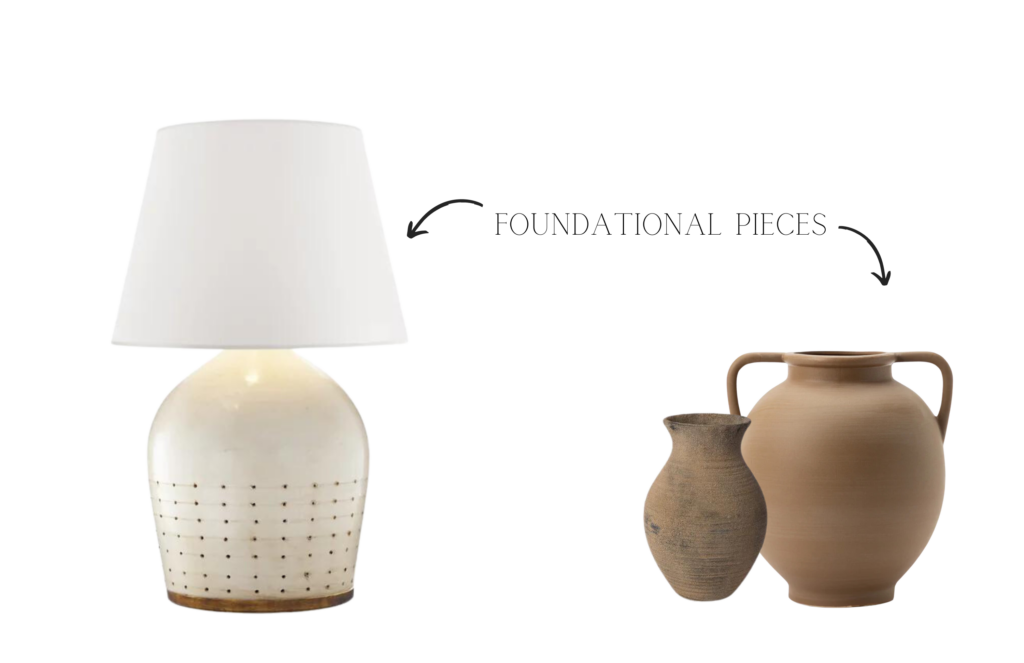
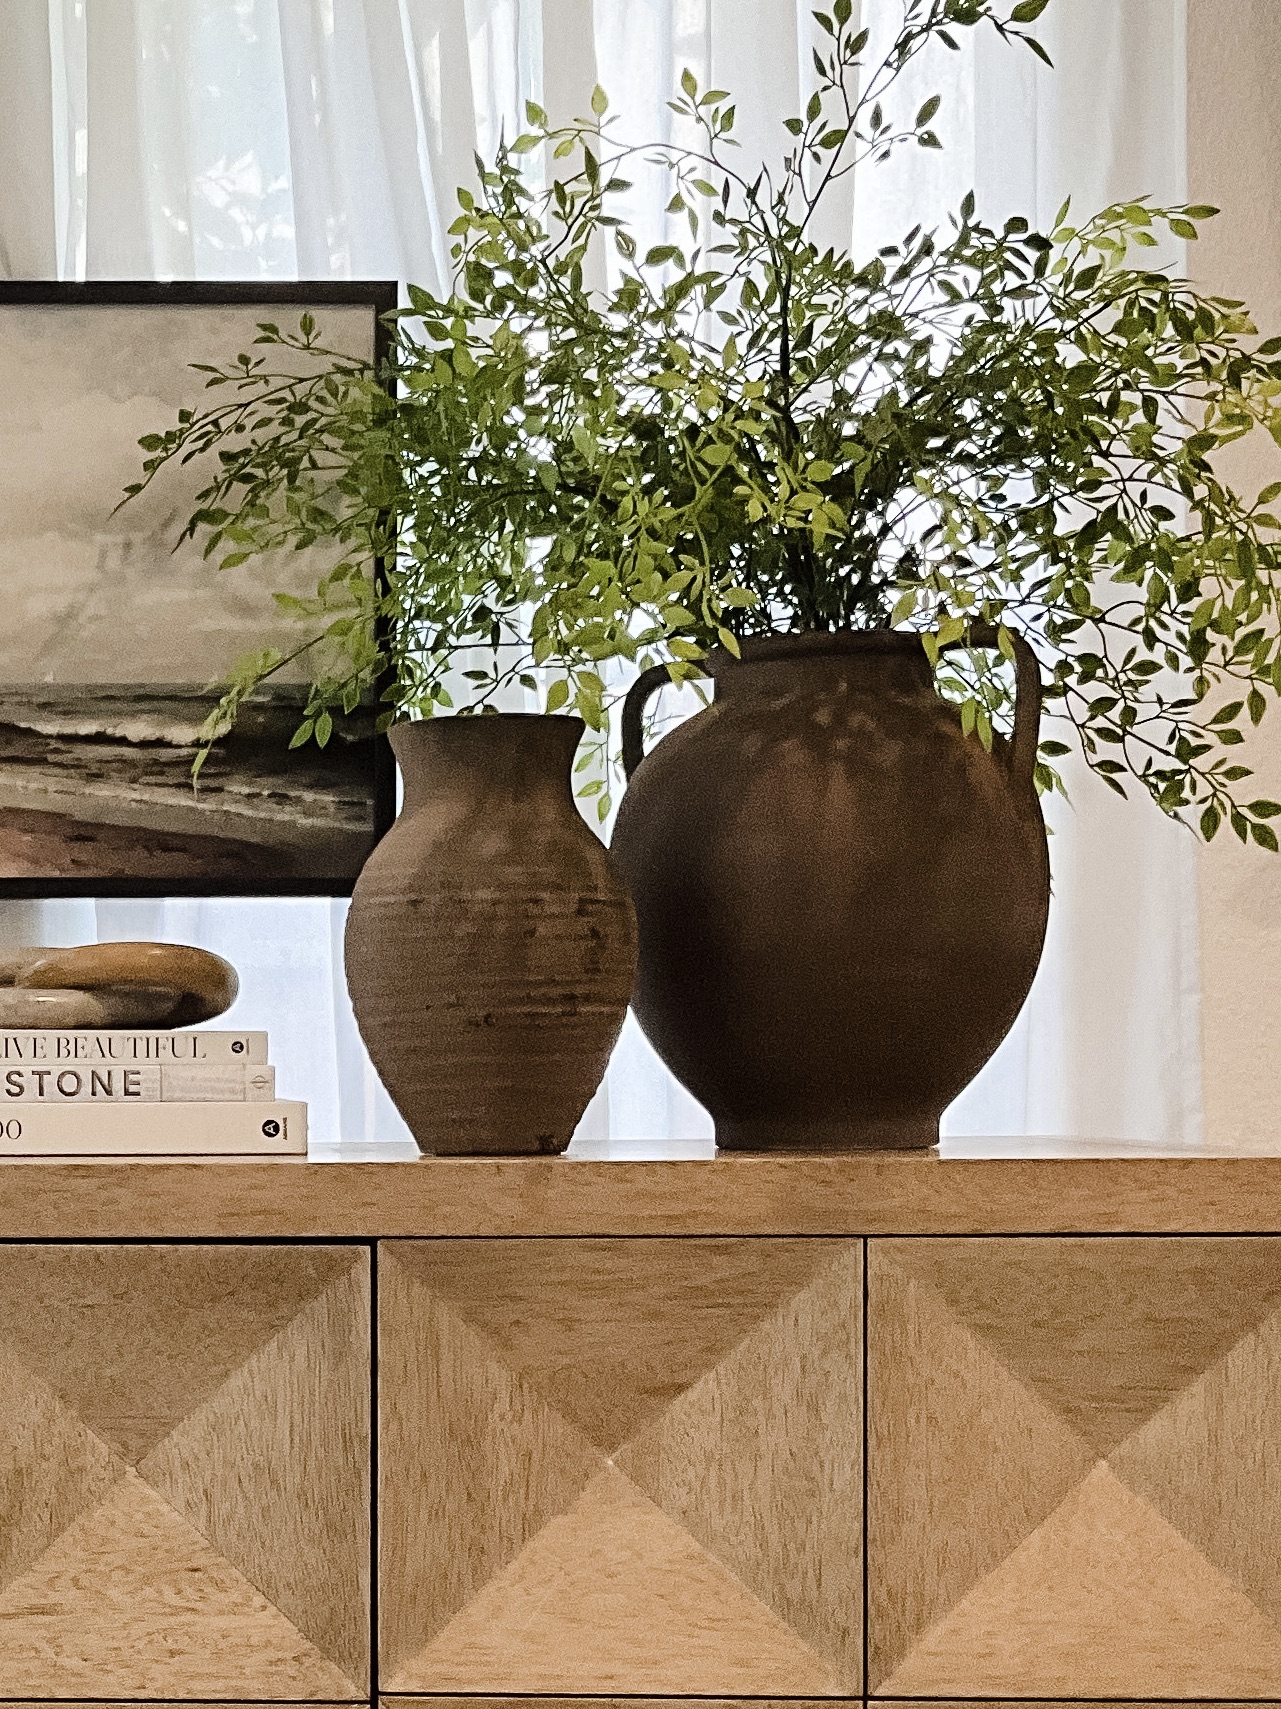
The scale is HUGE, but it makes sense for this space. The console itself is quite large, and it sits in front of a large window. A smaller lamp would not have the same gravitas and would feel “off”. An important part of good design is knowing how to properly fill a space and more times than not people go too small. To balance this behemoth of a lamp, I paired a large vase in a contrasting texture (shiny lamp vs. matte vase) and a slightly smaller vase of a similar hue and rough, earthy texture. By combining textures it keeps the vignette interesting and introduces an element of coziness. Adding the large greens gives this grouping the same visual weight as the lamp. Plus, adding a touch of nature brings a sense of calm to the space.
After selecting your large pieces, it’s time to move on to decorative objects. You want the console to be both beautiful and practical. For example, you could add a decorative bowl or tray to hold keys and other small items that tend to accumulate in an entryway. I always love a basket and it’s a great place for keys, mail, etc. Coffee table books are easily one of my favorite decor pieces because they add personality, plus I actually read and enjoy mine! They can be placed under an object to add height, they can help ground a grouping or they can be utilized to introduce color. So versatile!
Another option is to add objects such as links, sculptures or candles to the console. These items can add texture and depth to the space. These really are essential objects because they help you achieve different heights in a vignette. Having these varying heights keeps the eye moving and keeps things interesting while maintaining a relationship between the short and tall objects without disconnect. A candle is great to welcome guests with a pleasant scent. I have dogs and almost always have a candle burning. When adding decorative objects, be careful not to clutter the console with too many small objects as it can make the space feel chaotic and overwhelming. If you have several small objects try grouping them on those coffee table books we talked about or placing them on a tray. Just keep in mind that sometimes the best practice in design is editing and knowing when to remove something.
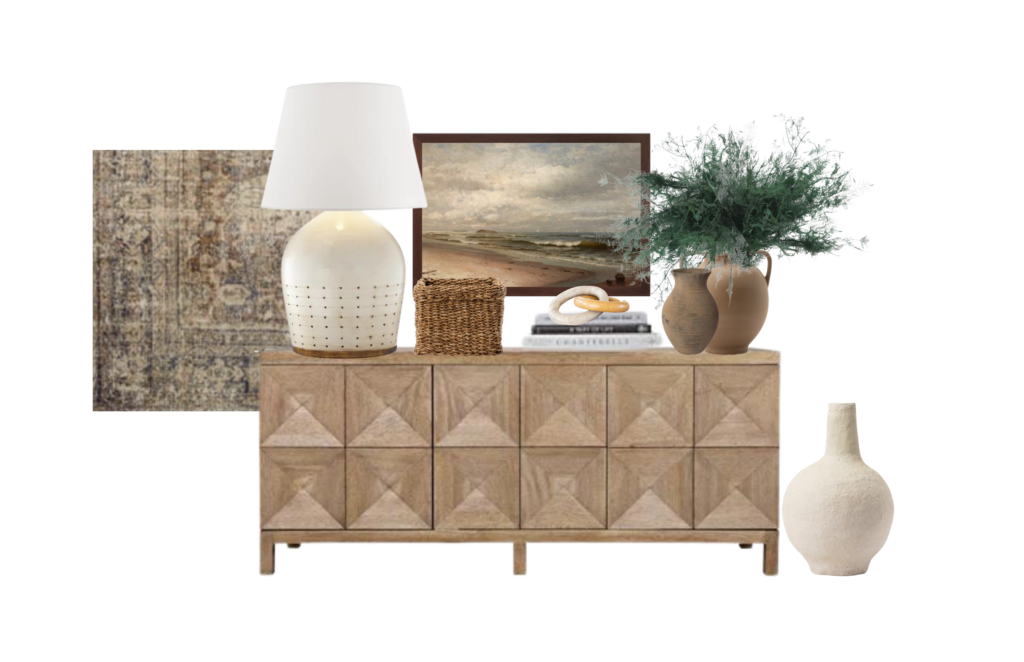
Last but not least, consider adding a rug or a runner to the space. A rug can anchor the console in the space and add some warmth and texture to the area. Protecting your floors and your guests is of utmost importance and a rug can help protect your floors from debris and your guests from slippery falls when it rains. If you have a larger entryway, consider going for a larger rug that can also provide some comfort for your guests as they enter your home. For a smaller space, a runner can do the trick and create a focal point for the console. As far as type of rug, I love a good vintage rug that helps hide traffic, or an indoor outdoor rug that can be taken outside and cleaned with a hose.
Have you taken the time to style your entry? If you use any of these tips, we would love to see. Tag us on instagram!
To shop the look visit our post here.
Checkout our YouTube channel to be guided through this process step by step.
read more
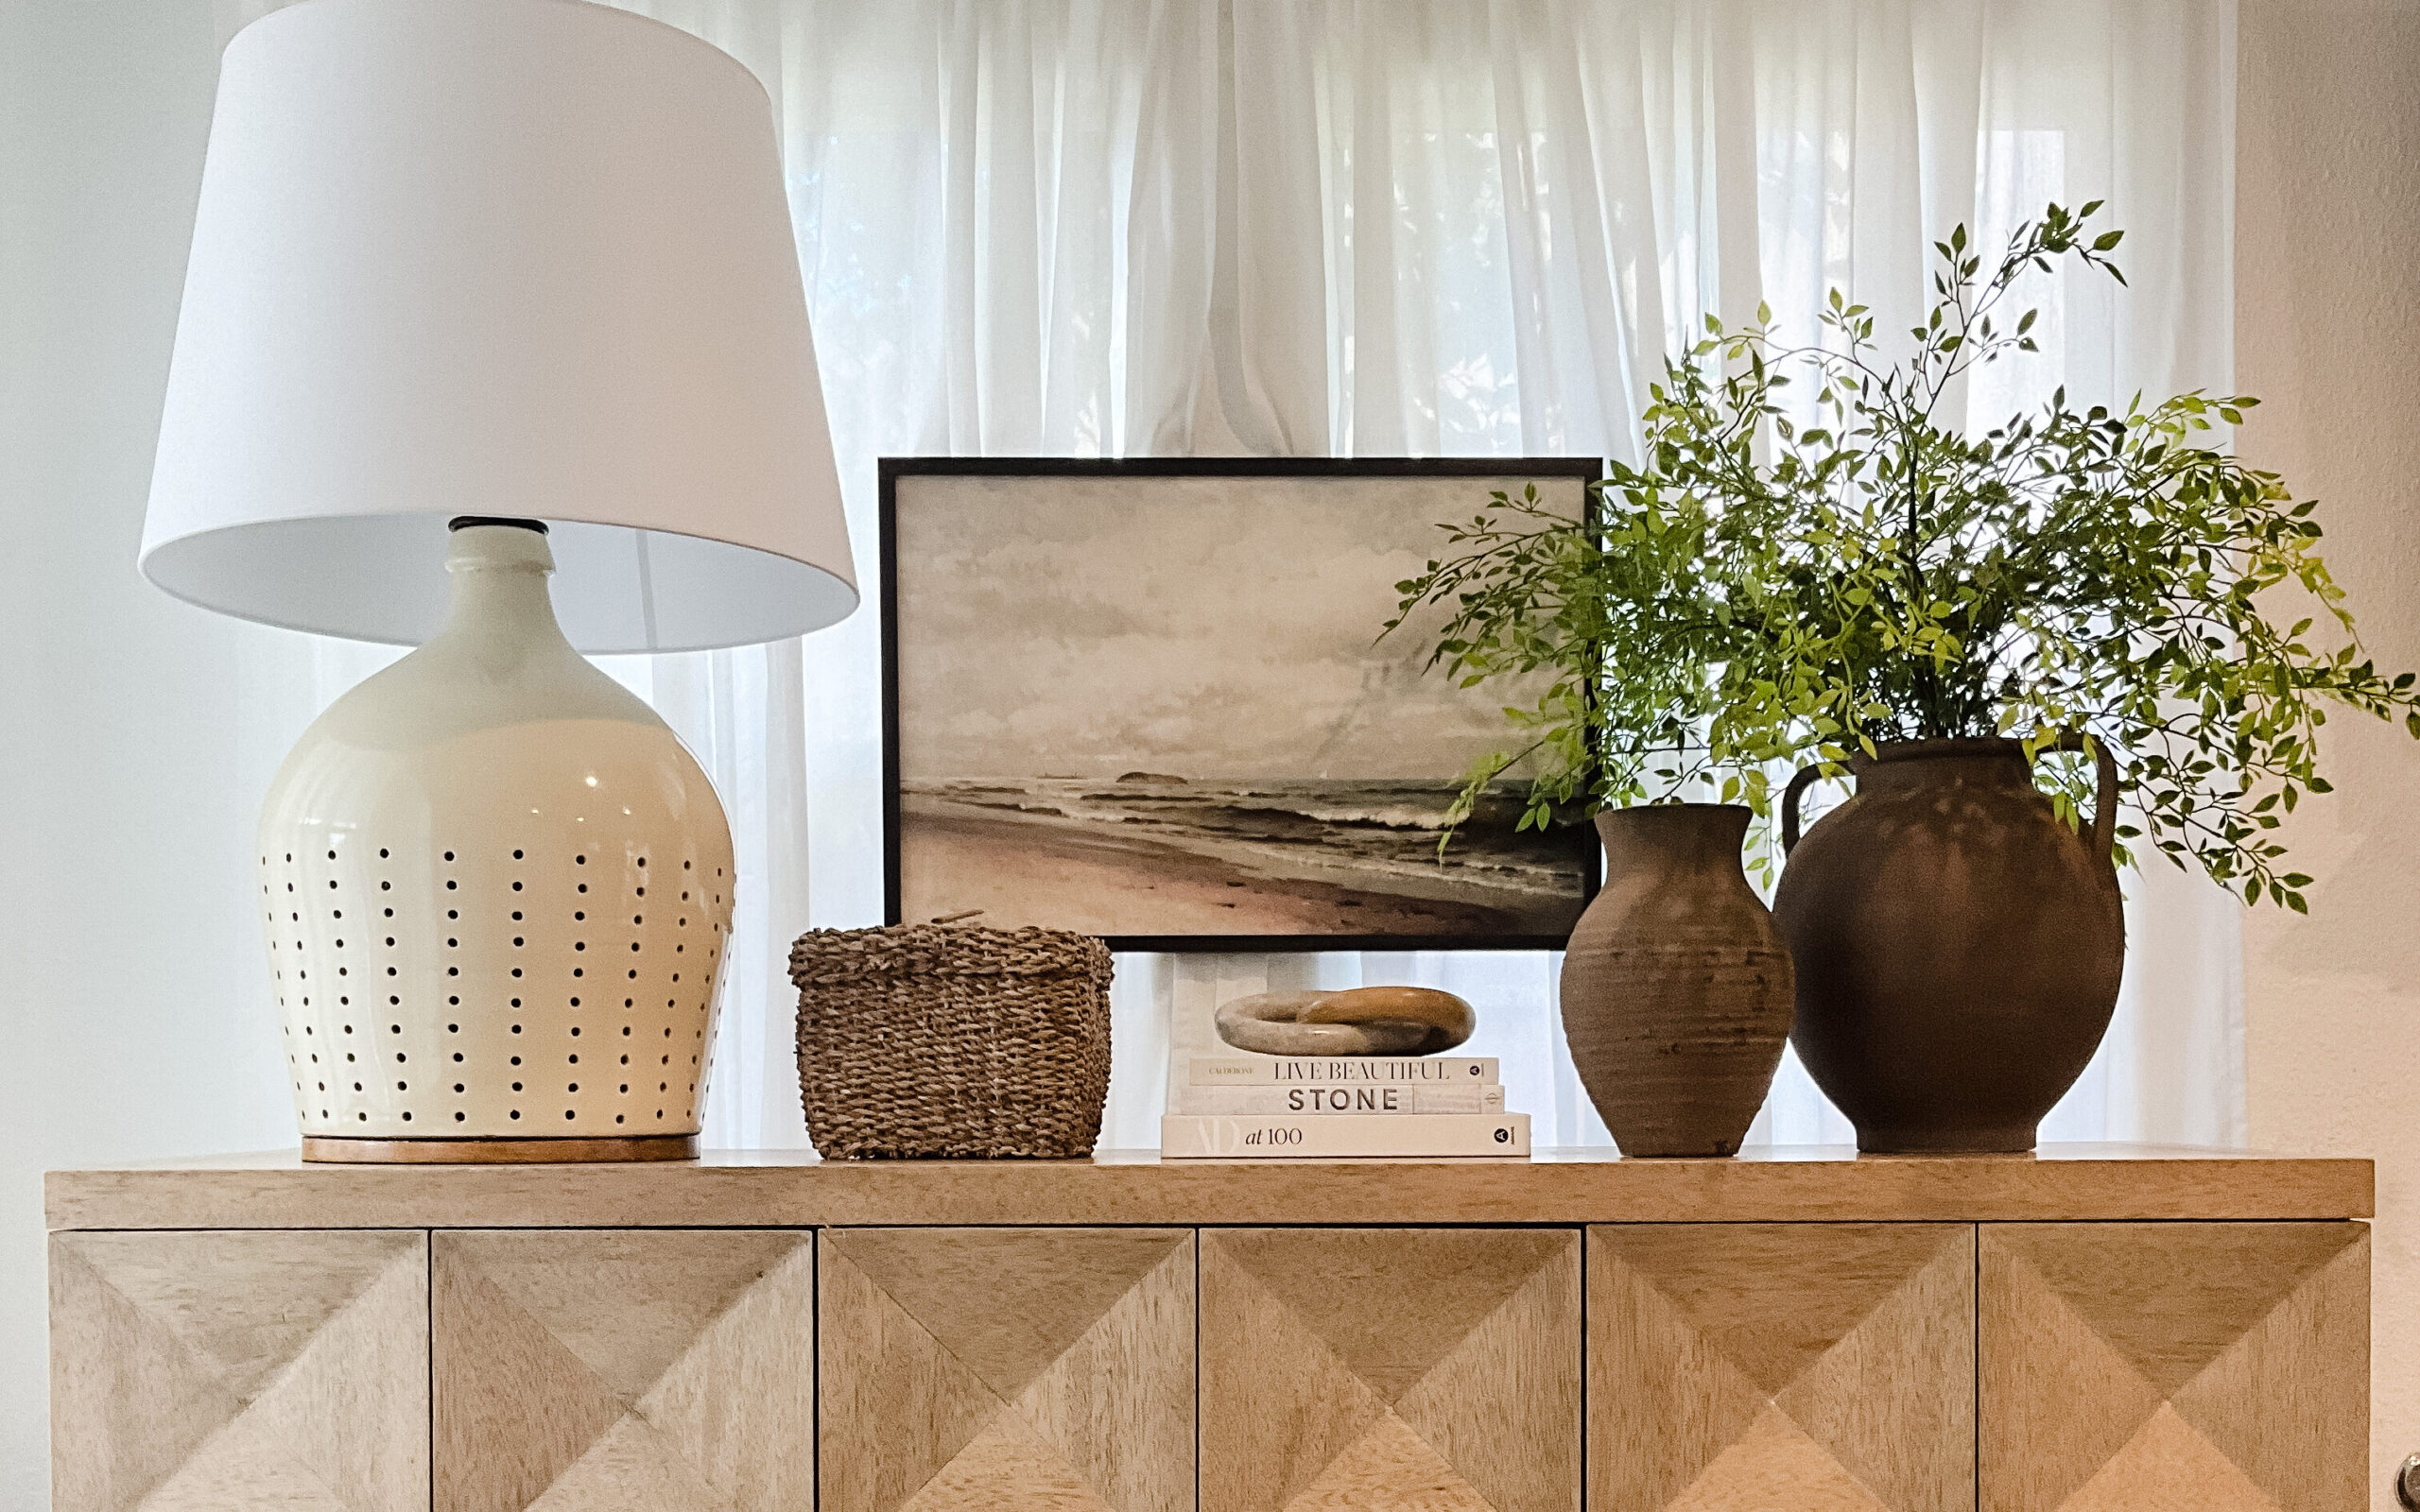
For tips on styling a console check out our blog post How to Style an Entry! Just in case you missed it, here are a few quick tips for when it comes to styling an entry, there are a few simple things that should be considered:
- Focal point: This can be a favorite piece of artwork or a mirror. You just want to identify the star of the show so that you can get the appropriate supporting pieces. This will keep you from having competing elements.
- Color palette: make sure you are consciously curating the objects you select while considering how they work with the color palette in the rest of the room.
- Grounding elements: For a console I like to have 2 large objects that help ground the vignette (one on each side). Here, I used a lamp and vases. If styling a round table, I typically have 1 central large object and then include supporting pieces.
- Vary height: To bring interest to your vignette make sure you vary the heights of the objects. If everything is at the same height it can fall flat. Having varying heights keeps the eye moving. At minimum think tall, short and something in between.
- Mix textures: I used a glazed ceramic surface that has a bit of sheen, a smooth matte stone surface, a highly textured stone surface, a natural woven surface and I could go on and on. I think texture is one of the key ingredients for making a space feel cozy and welcoming so keep it interesting and mix it up! A good rule is to make sure you are incorporating sheen, matte and organic textures.
- Balance: Balance can be achieved in a lot of different ways, the easiest being symmetry. I used asymmetry here but it still feels “right” because it is well-balanced. The weight of the large scale lamp is balanced by the grouping of vases and large greens. Are they the same size? No, but visually, they occupy the same amount of space.






*Some of the links featured on earthandoakinteriors.com may be affiliate links. This means that we may earn a commission if you click on the link and make a purchase. At Earth and Oak we only promote products that we truly believe in and that we think will benefit our readers. The use of affiliate links allows us to earn a small commission while also providing you with convenient access to the products that we recommend. Please note that you are under no obligation to click on any of these links or make a purchase. However, if you do decide to make a purchase through one of our links, we want you to know that we truly appreciate your support.
To watch the process step by step check out our YouTube channel!
